Modding:Fixing UV errors
Jump to navigation
Jump to search
Main page: Modding Resources
Steps
- Open two instances of Blender; 2.79b and 3.X (latest)
- Install LaughingLeaders' Blender Helpers for 2.79b into 2.79b
- Open your model in 3.X first
- Copy and paste the entire model and all its meshes into 2.79b
- Minimize (or close) 3.X, we won't need it again until the end
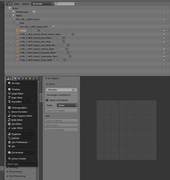
- Open up another window next to the Properties Tab by pulling on one of the stripped triangles in the top corner
- In the new window, click on the Properties button under the Project Outline, choose UV/Image Editor
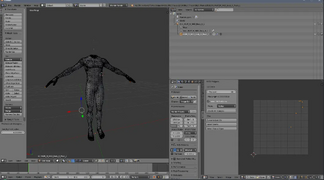
- Click on the mesh you want to check first (to be on the safe side go through each mesh one by one)
- Hit TAB to go into Edit mode
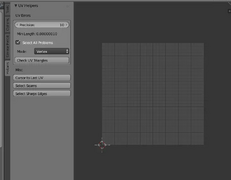
- Click on the vertical Helpers tab and make sure that the Select All Problems box is checked
- Click on Check UV Triangles
- At the very top of Blender, you'll see a notification telling you how many UV problems were found. They will also highlight them in orange on your mesh and in the graph on the right
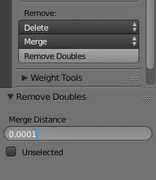
- To the left of your model, you'll see Remove Doubles in the Tools tab
- Click on it and you'll see a message at the top, Removed 0 vertices because the merge distance is too short to combine any of the overlapping vertices
- Try changing the merge distance incrementally as small as possible. Somewhere around 0.0004 you'll see Removed X vertices at the top
- Keep an eye on your mesh and make sure it's not getting too distorted
- After each vertex removal/merge, select and deselect (CTRL-A in edit mode) the mesh and repeat the earlier steps of Check UV Triangles and Remove Doubles of vertices
- Not all UV errors will show up on the graph, so keep an eye on the notification at the top that tells you how many UV errors you have
- When you've merged all the vertices causing problems, you'll see No UV problems found at the top
- After you have done this for each mesh in your model, copy and paste the entire thing back into 3.X
- Export as
.DAE


